 |
C-Menu 0.2.9
A User Interface Toolkit
|
|
C-Menu 0.2.9
A User Interface Toolkit
|

You may also be interested in the C-Menu User Guide
C-Menu is a user interface development toolkit that gives you the ability to quickly and easily build functional, intuitive, and attractive applications with minimal effort and a tiny footprint. Because C-Menu is written in C and terminal-based, it is perfect for resource constrained environments such as embedded, server, SOC, IOT, DEVOPS, and CI/CD pipelines, or any other situations in which a GUI might be impractical or undesirable.
C-Menu is also ideal for developers who prefer to work in a terminal environment and want to create powerful applications without the overhead of a GUI framework. C-Menu provides a wide range of components and tools for building menu-driven interfaces, including hierarchical menus, on-../screen forms, object selection, file viewing, and more. With C-Menu, you can create applications that are both efficient and user-friendly, making it a great choice for a wide range of use cases.
You may also be interested in C-Menu Comprehensive HTML Documentation
If you have made up your mind and are ready to install C-Menu, you can skip directly to the installation instructions below.
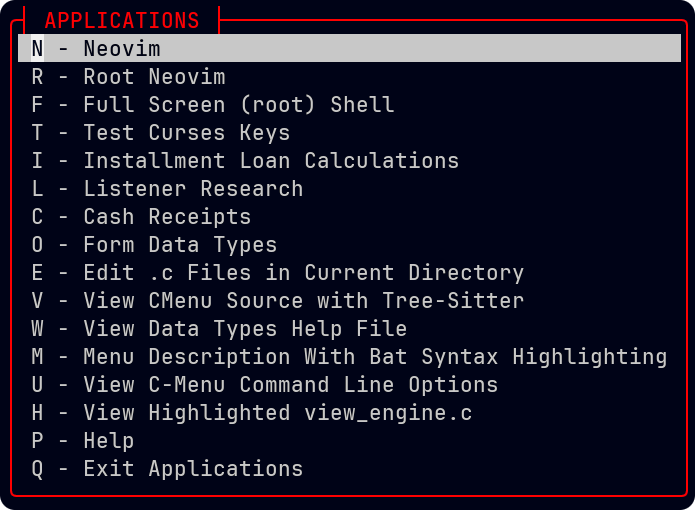
In typical use, C-Menu requires only a few lines of code to create hierarchical menus with multiple levels of sub-menus. The Applications Menu contains an eclectic set of selections designed to demonstrate the diversity of the C-Menu toolkit.
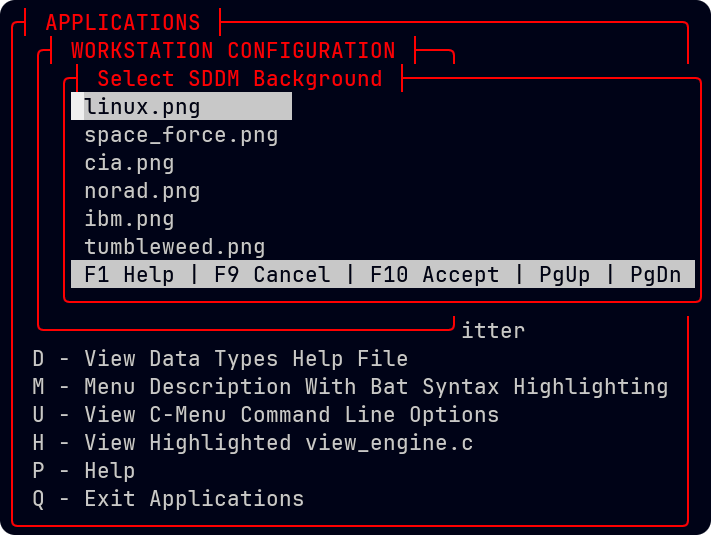
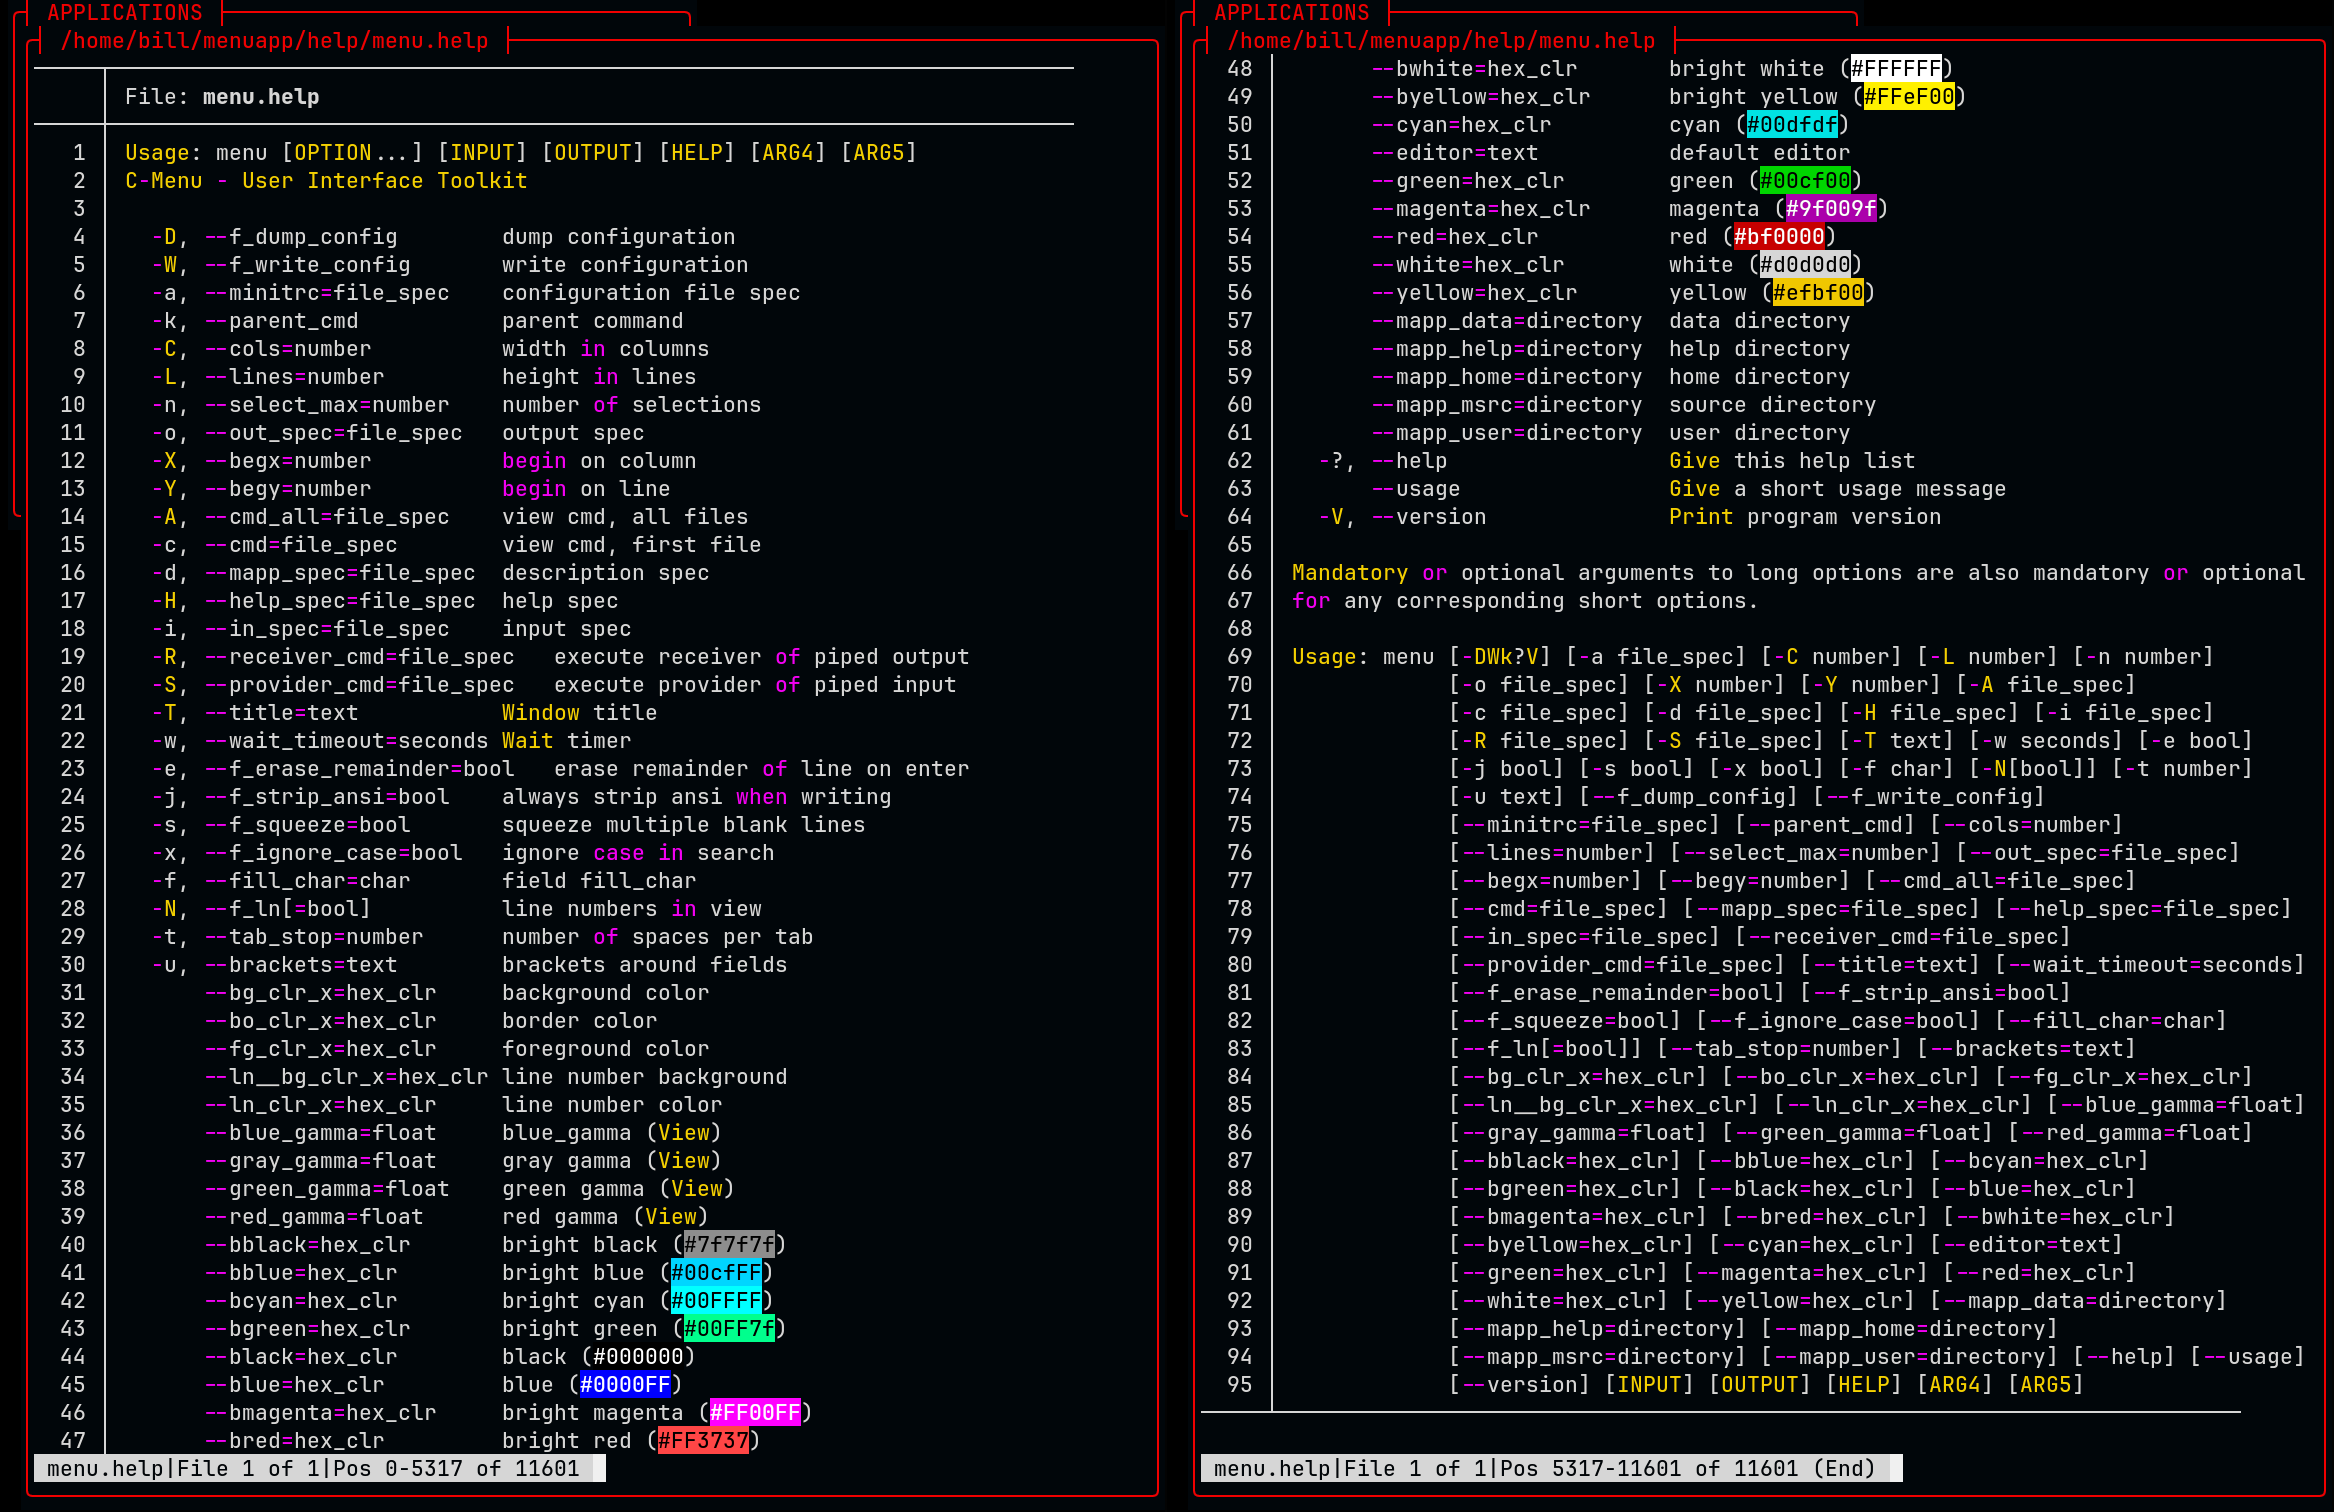
C-Menu is highly customizable, and provides a wide range of options for creating unique and engaging interfaces. The help ../screens below show some of the options available for customizing the appearance and behavior of C-Menu's components.
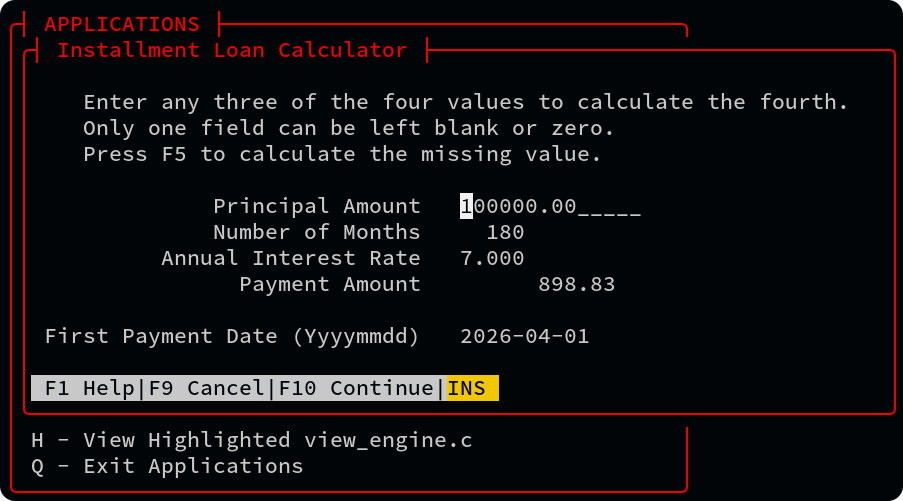
Enter, edit, validate, process, and submit data. Notice the chyron at the bottom of the ../screen, which provides helpful instructions and feedback to the user. Of course, all C-Menu components provide navigation by mouse and keyboard, and in many cases by the standard h, j, k, and l keys that programmers are accustomed to.
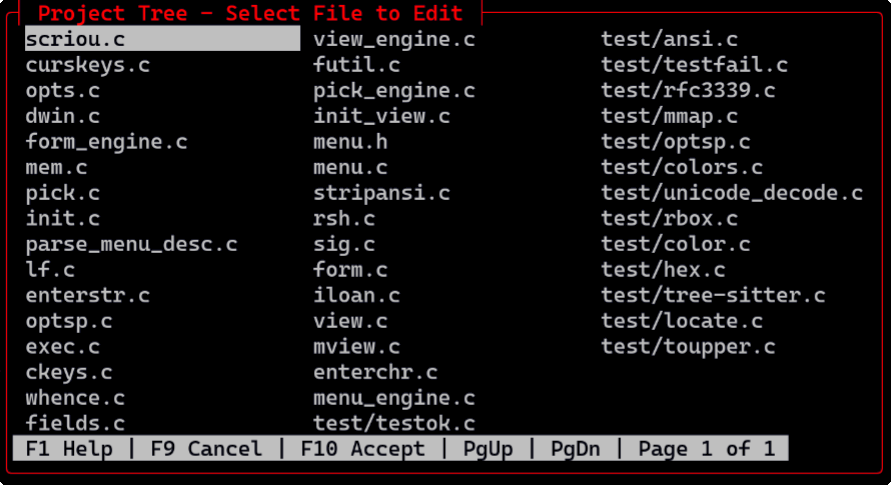
The image below shows how pick works with C-Menu's lf (lightweight find) to select files in a directory. The ../screen on the left is the first to appear, and it shows the output of lf. In the bottom window, the user can refine the list of files by entering a search expression, and as the user types each character, Pick updates the list of files in real time. When you find the file you want, you can select it with the mouse, or use the arrow keys to move the highlighted bar to the file and press space bar to select it. Pick is fun to use and it's lightning fast, even with huge lists of objects. Pick is a great way to navigate and select files, users, network connections, and other objects in your applications.
To duplicate the above screenshots:
Now, want to see something really cool? In the line editor window, try to type "text" or some other string that doesn't match any files. In the dataset shown above, there are no files that match "tex", so Pick responds as you type "te", but refuses to accept the letter "x" because it would result in an empty list. When you use the backspace key, the Pick engine reverses and repopulates the object selector's with the previous list of files. This is just one example of the intuitive and responsive features built into C-Menu.
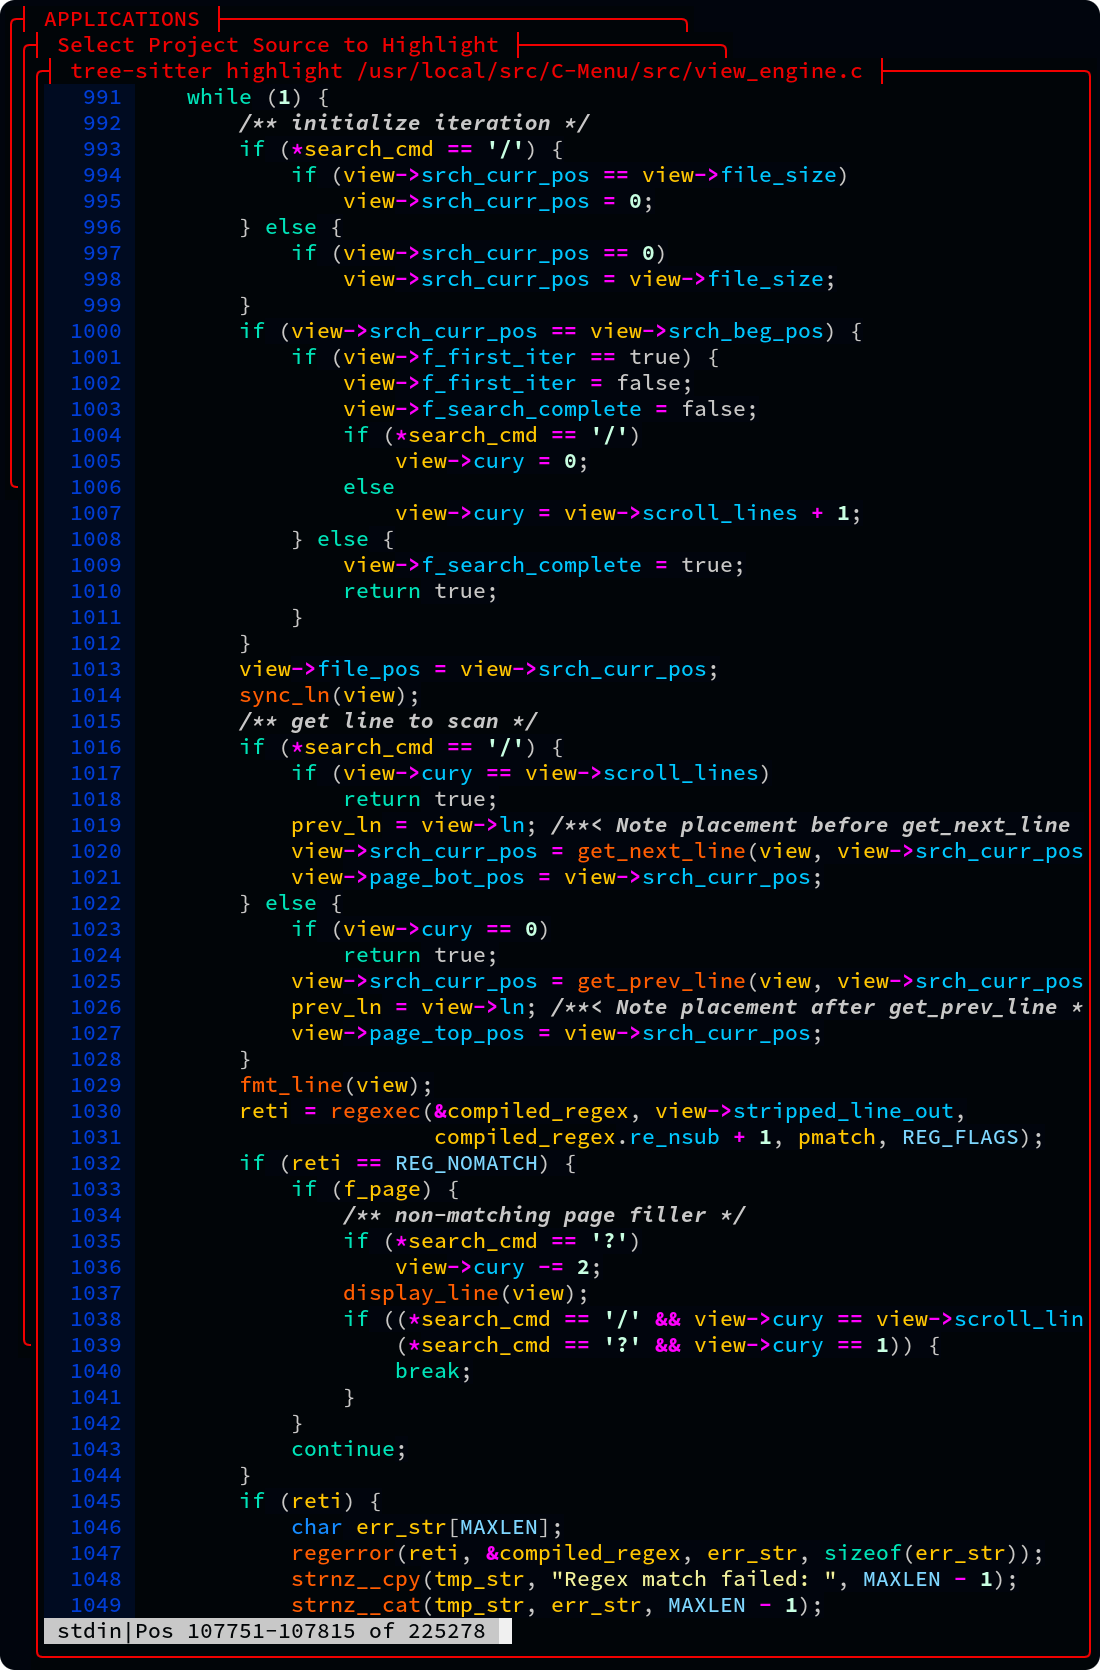
View has Unicode support, line numbering, regular expression searching, and a large virtual pad for horizontal scrolling. View works great with tree-sitter, source-highlight, pygments, bat, manual pages, and other syntax highlighters. View doesn't alter the file you are viewing. It uses the highlighter in a pipe, and reads the output, so the original file is never changed. And, if you happen to have a file that has been highlighted by another application, view can strip the ANSI codes for convenient editing. View is lightning fast, especially with huge log files.
Why is View so fast? Even if an application has a super-fast buffering scheme, it still has to wait on the kernel to provide data, and then copy data into it's own buffers, duplicating work the Kernel has already done. Why waste the time and memory? To be fair, we must appreciate that many applications were written before direct accesses to the Kernel's demand paged virtual address space was available. Whatever the reason, View takes advantage of direct-to-Kernel memory mapped files to achieve maximum performance, reliability, and resource economy. If you work with large datasets, you will love view. No fluff, no bloat, no nonsense, just blazing fast performance.
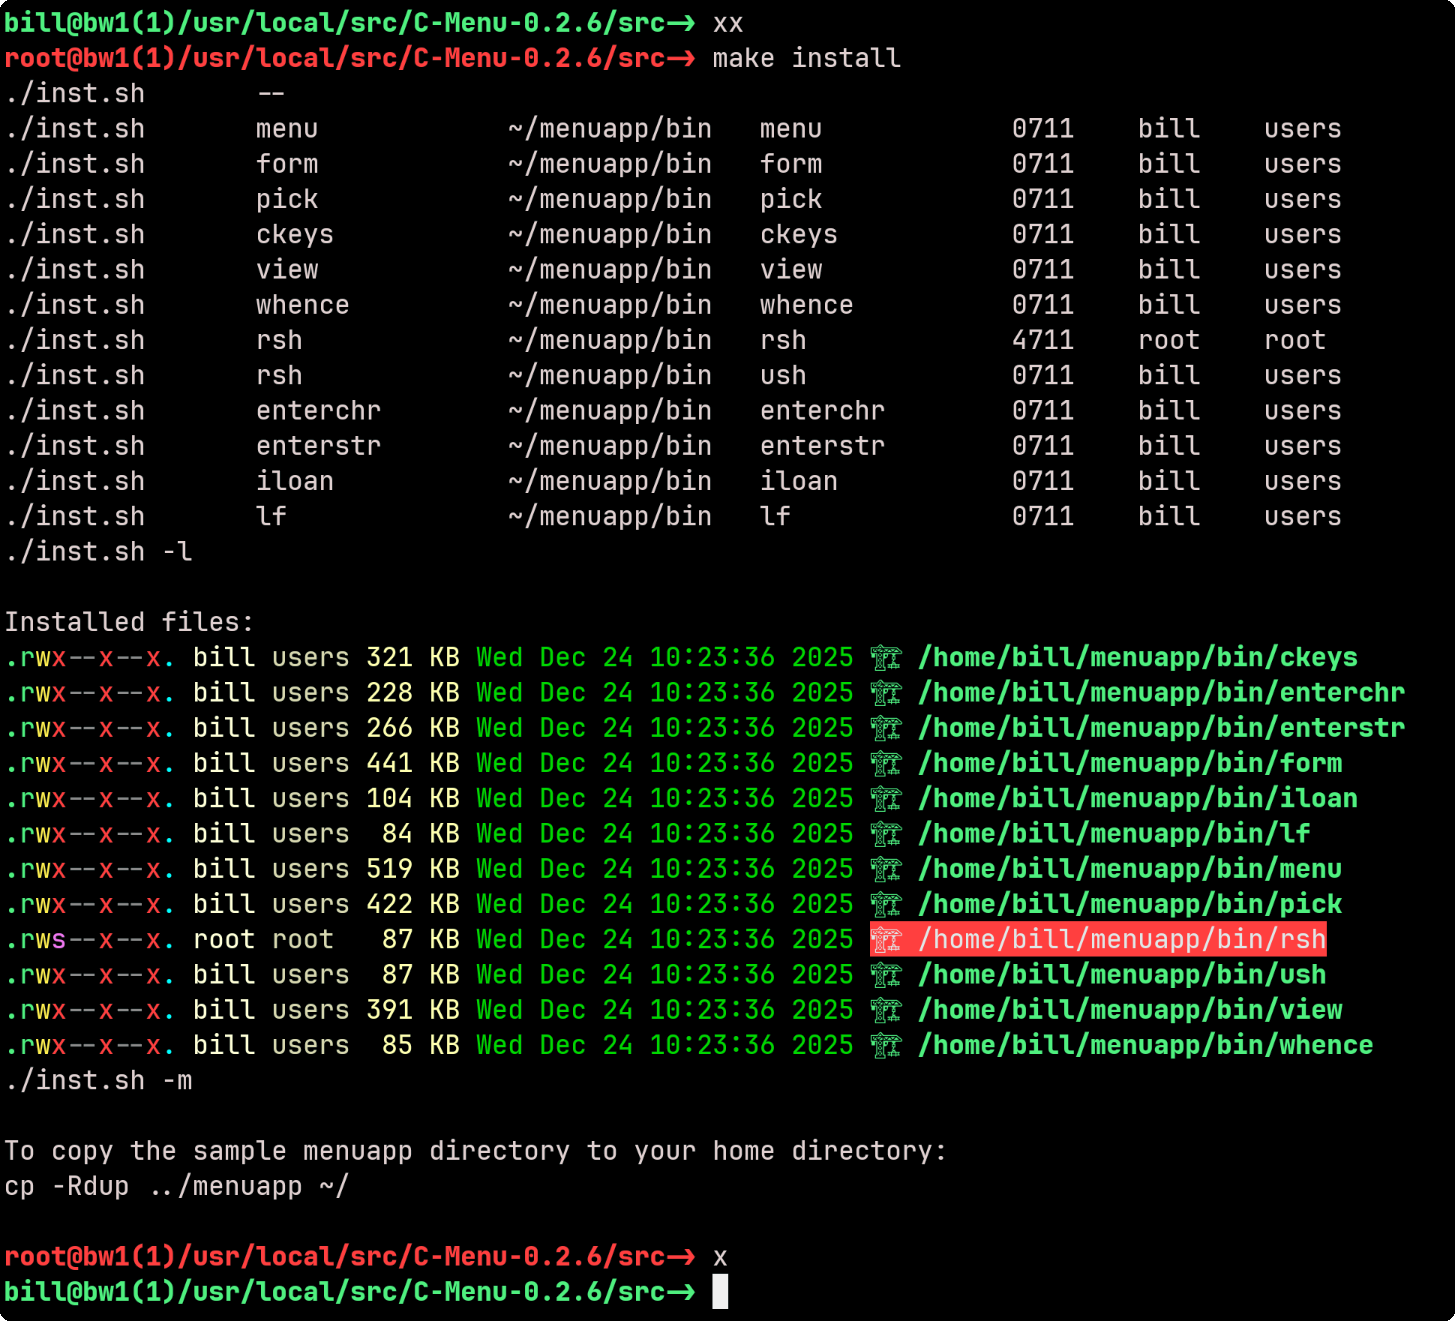
RSH - RSH provides an alternative to su and sudo for executing commands with elevated privileges. It allows developers and system administrators to get in and out of root shells and execute commands with root privileges without the need for a password, for example, by authenticating with an ssh key as you would on gethub.
In the following example, make install requires root privilege, so the user types xx, is authenticated with an ssh key, and then types make install. When the make install is finished, the user types x to exit the root shell and relinquish root privilege.
lf - is a sleek, easy-to-use, and fast alternative to the Unix find command. The name, lf, can be thought of in the imperative sense as "list files", or in the noun sense, "lightweight find."
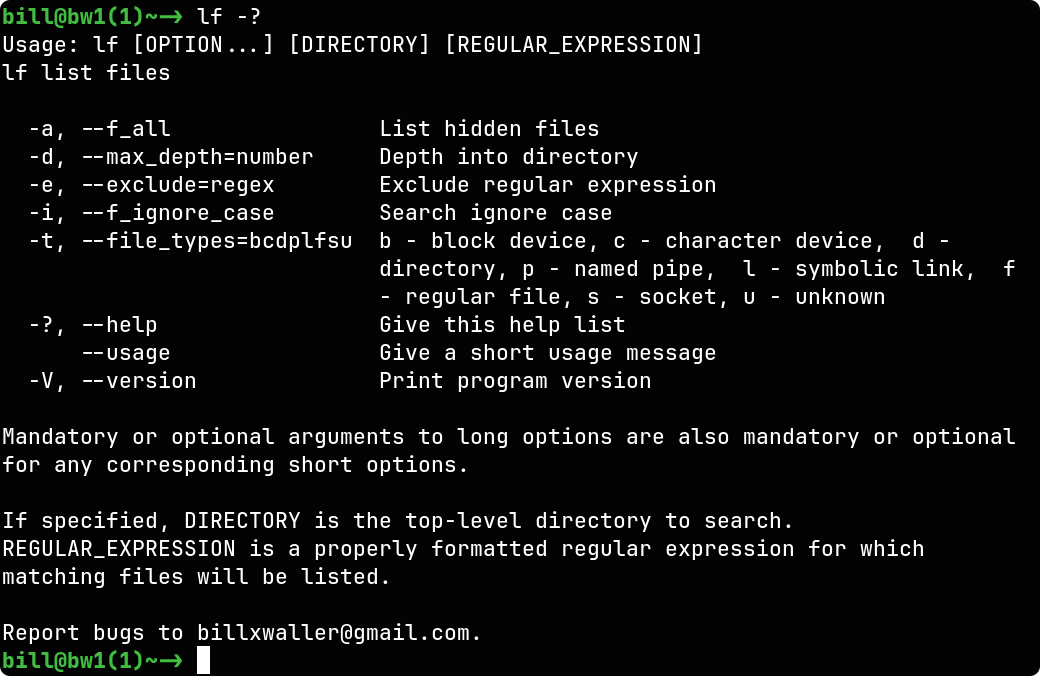
The ../screenshot above is the help output of lf -? (help) piped through bat and displayed in View.
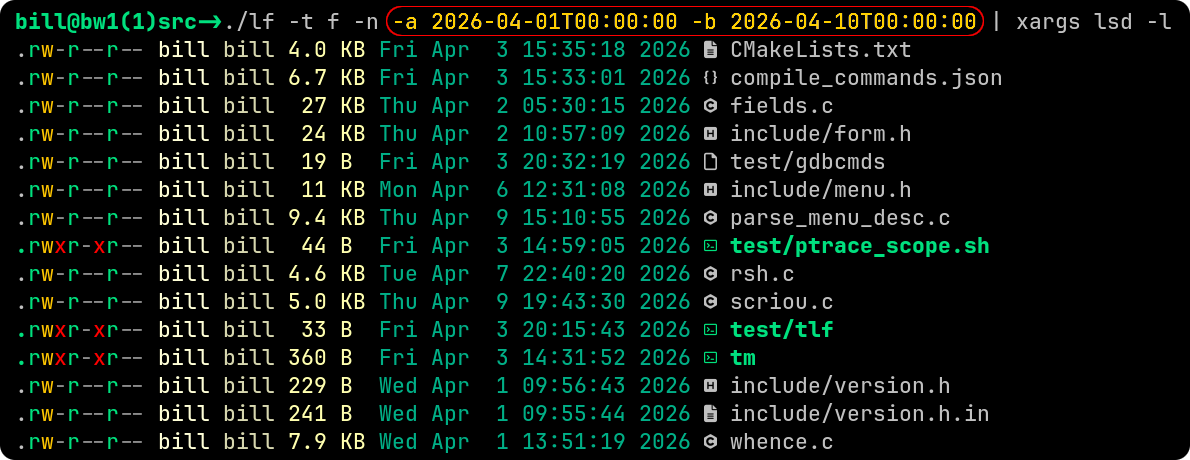
The ../screenshot above is an example of how you might use the date-time options of lf to list files between two date-times (after and before) and the sample output. lf is definitely intuitive and very easy to use.
There is certainly nothing wrong with find or fd. Both work great with C-Menu, so you can use whichever you prefer. However, lf is designed to be portable, super easy to use, and fast.
API - C-Menu provides a simple and consistent API for creating menu-driven user interfaces in C. The API includes tools specific to C-Menu, but also many general purpose tools that can be used in a wide range of applications. The API documentation is available in html and integrated into Neovim's completion engine, making it convenient for developers to learn and use the API effectively.
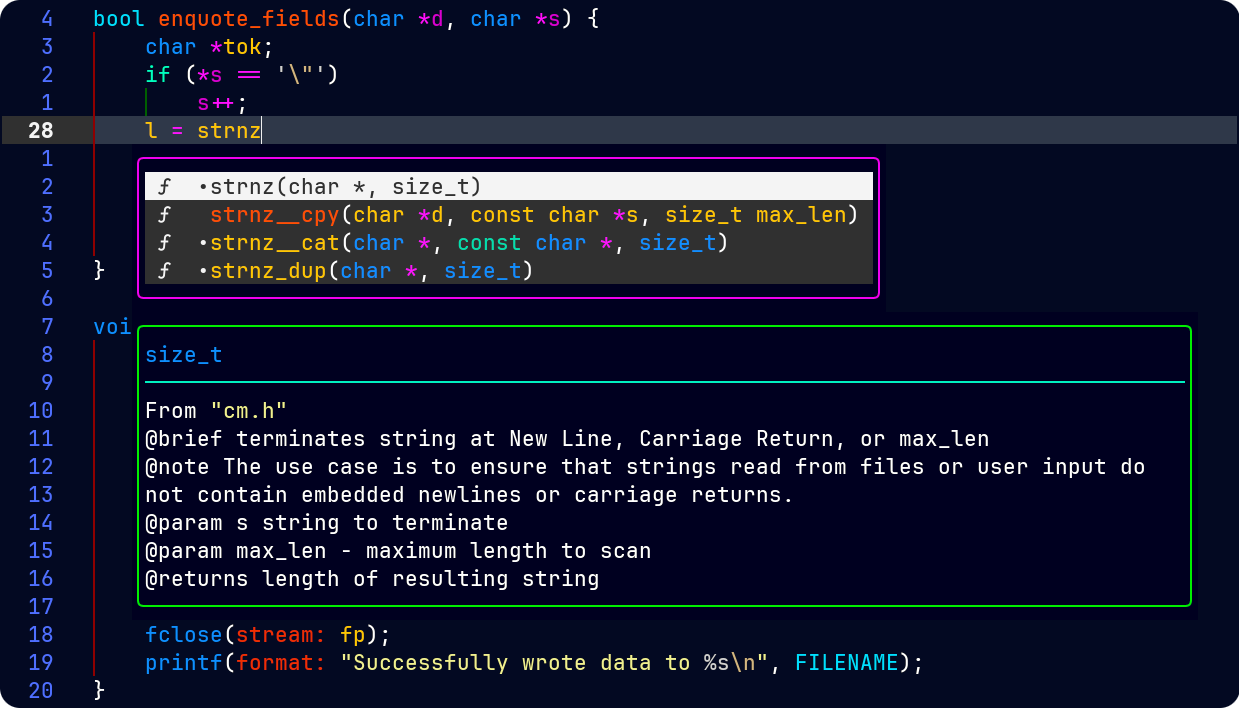
C-Menu's API documentation is integrated into Neovim's completion engine, providing developers with easy access to API information and examples while they code. This integration allows developers to quickly look up function signatures, parameter descriptions, and usage examples without leaving their coding environment, enhancing productivity and making it easier to learn and use the C-Menu API effectively.
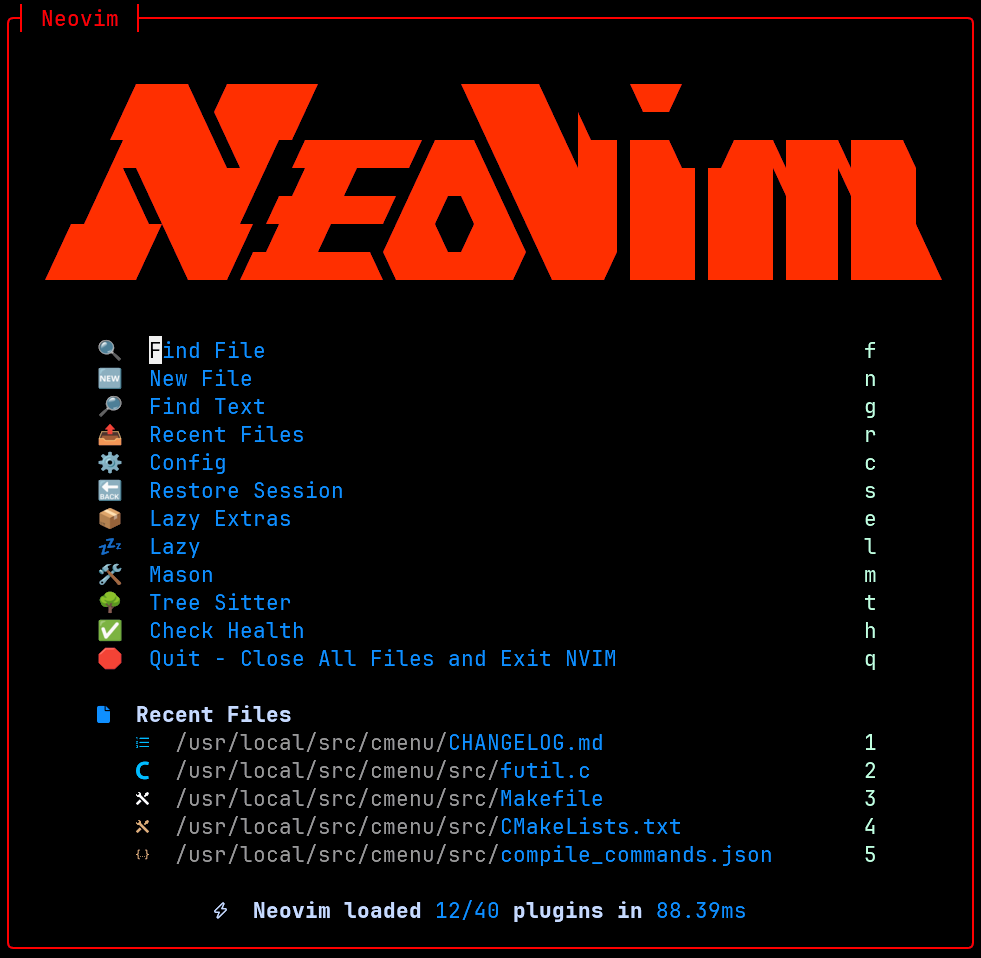
Hopefully, you will not find this plug for Neovim, LazyVim, and Lazy.Nvim too gratuitous as they are not prerequisites for C-Menu. Nevertheless, they do add considerably to the development experience. The ../screen below is the LazyVim dashboard in Neovim.
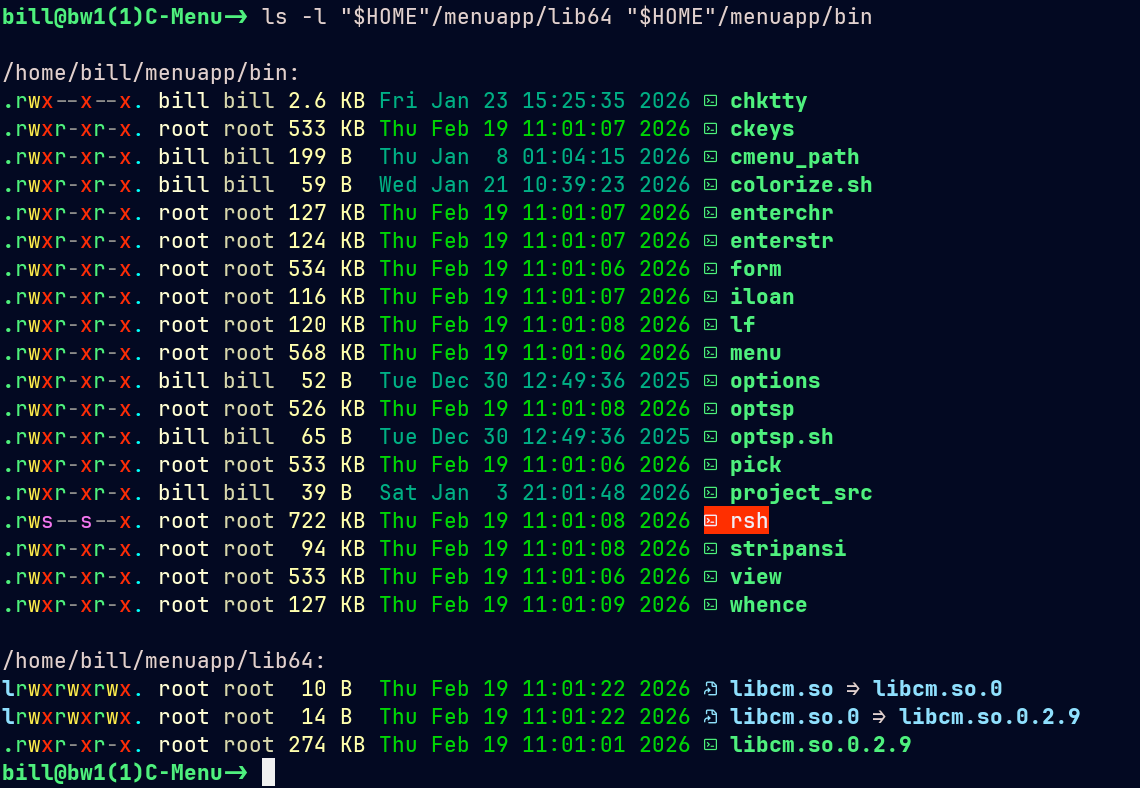
All of the C-Menu binaries, including executables and libcm.so are less than 350k, a tiny footprint for such powerful tools, and no GUI is required. The only dependencies are the GNU C Library, GNU Math Library, NCursesw, and a terminal emulator.
Oh, and C-Menu is free, distributed under the MIT License.
Are you ready to get started? Below, you will find several options for installing C-Menu on your Linux system. I haven't yet provided a packaged binary distribution, but that will be coming soon in version 0.3.0.
Choose the option that best suits your needs and follow the instructions to get C-Menu up and running on your system.
The instructions below will guide you through the process of installing C-Menu on your Linux system. You can choose to install C-Menu using pre-built binaries or by building it from source. Building from source is recommended to ensure you have the latest features and bug fixes, but if you prefer to use pre-built binaries, you can follow the instructions in the next section.
Unfortunately, I have not kept the binary distribution up to date with the latest source, and it is seriously obsolete. Before you download the binary distribution, please check the release date and avoid downloading if it is more than a couple of weeks old. As you can see from the CHANGELOG, there have been many changes and improvements to C-Menu since the last binary release, and the old binaries may not work correctly or may be missing important features and bug fixes.
However, if you do notice a recent binary release, you can follow the instructions below to install it on your Linux x86_64 system.
This will create a directory named menuapp containing the extracted files.
Prepend the C-Menu bin directory to your PATH environment variable by adding the following line to your shell profile (e.g., ~/.bashrc or ~/.zshrc). Assuming you extracted the menuapp directory to your home directory, the line would look like this:
Currently, building from source is the recommended way to install C-Menu, as it ensures that you have the latest features and bug fixes. The instructions below will guide you through the process of building and installing C-Menu on your Linux system.
C-Menu uses dynamic linking by default, but if you plan to use rsh in a rescue environment where dynamic linking may not be practical, you can statically link rsh during the build. To do this, set the RSH_LD environment variable to -static before building C-Menu:
CMake or Makefile will strip symbols from the executable once it has been copied to its destination directory. This is done to reduce the size of the executable and improve performance.
NOTE If you choose to statically link rsh, make sure that your C compiler and linker support static linking and that you have the necessary static libraries, specifically, libc.a, installed on your system. Static linking can increase the size of the executable and may have implications for compatibility and security, so be sure to test the statically linked version of C-Menu in your target environment.
Most distributions provide static libraries for the GNU C Library (glibc) as part of their development packages. You may need to install additional packages to obtain these static libraries, such as glibc-static or libc6-dev for glibc.
(replace /home/yourusername with the actual path to your menuapp directory) and save the file. 😆
 1.17.0